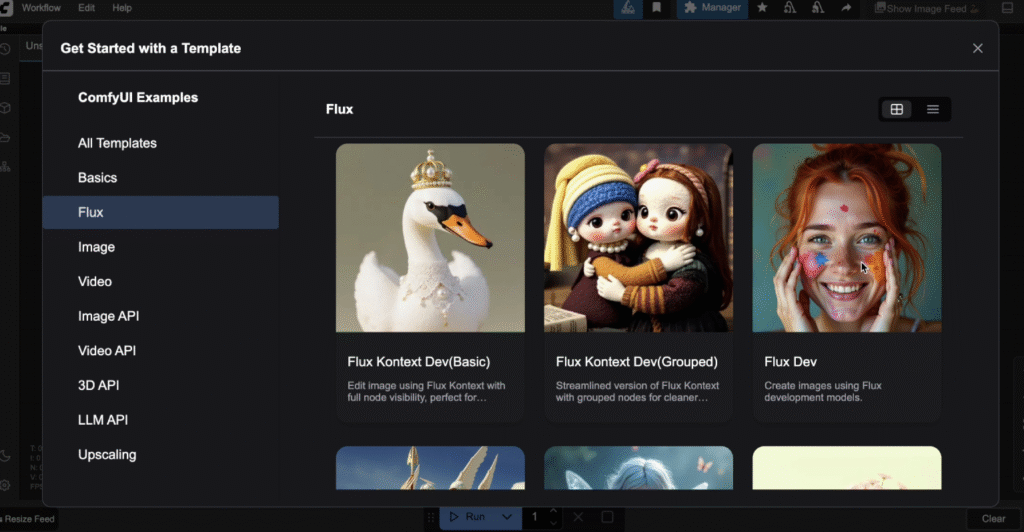
Building a comfyui realistic ai influencer model isn’t just possible in 2025 — it’s one of the smartest ways to launch a digital brand. With tools like ComfyUI, you can generate stunning visuals, craft a consistent face, and automate content faster than ever. AI influencers aren’t the future — they’re the now. And with ComfyUI, you can build one from scratch: visual identity, face consistency, personality, and even monetization—all without spending a fortune or needing a dev team.
In this guide, I’ll show you how to create a comfyui realistic ai influencer model, covering the tools, visuals, voice, and money moves behind it.
Why ComfyUI Is Perfect for Realistic AI Influencer Models
ComfyUI is a modular, visual interface built for Stable Diffusion. It gives you complete freedom to:
- Customize appearance and identity
- Reuse workflows with consistent faces
- Plug in LoRAs and custom styles
- Output 4K renders for social-ready content
Compared to pay-per-prompt generators, ComfyUI feels like building a real brand from scratch.
Tools You Need to Get Started
Here’s your kit:
- ✅ ComfyUI via RunPod (fast cloud setup — no GPU required)
- ✅ A photorealistic model from Civitai (e.g., RealisticVision, Deliberate, RevAnimated)
- ✅ Roop or ReActor extension (for face consistency)
- ✅ Reference photo (neutral face, clean lighting)
- ✅ Optional: Style LoRAs, lighting presets, backgrounds
Need a visual walkthrough? Here’s a step-by-step tutorial with screenshots.
Step-by-Step: Build a ComfyUI Realistic AI Influencer Model
1. Load the Model
Download your preferred checkpoint from Civitai and load it into your ComfyUI workspace. This determines the skin tone, lighting, realism, and overall base quality.
2. Add Face Consistency (Roop or ReActor)
Use Roop or ReActor to lock in a reference face. This keeps your influencer’s look consistent across all outfits and scenes — essential for branding.
3. Style the Prompt
Craft a vibe using descriptive prompts:
“25-year-old fashion model, confident energy, soft natural light, DSLR photo, curly black hair, urban background.”
Adjust LoRA weights to fine-tune aesthetics like hairstyle, lighting, or wardrobe.
4. Dial in Settings
Stick to 1024×1536 or 1080×1350 resolution for clean portrait-style outputs. Add lighting or composition nodes to improve realism.
5. Test, Refine, Save
Once you find your signature look, save the seed, workflow, and LoRA stack. That becomes your AI influencer’s “template.”
Optional: Build Personality & Voice
ComfyUI doesn’t stop at visuals. You can add personality by:
- Writing bio and captions in a consistent tone
- Giving your influencer niche values (eco-conscious? luxury? tech-forward?)
- Using ChatGPT or GPT-4 to script DMs, captions, and comment replies
This turns your model from just a face into a full-blown digital persona.
Where to Post & Monetize It
| Platform | Content Type | Monetization Angle |
|---|---|---|
| Instagram/TikTok | Reels, slideshows, lifestyle posts | Build audience, land brand deals |
| Fanvue/Patreon | Exclusive scenes or image drops | Recurring subs |
| Print-on-demand | Model-themed merch | Shopify or Printify drops |
| Blogs/YouTube | Tutorials, reviews, breakdowns | Use affiliate links & SEO content |
You don’t need to show your face or do constant shoots — the AI handles the visuals, you handle the strategy.
Ethics Checklist (Still Matters)
- Be transparent it’s AI-powered (in bio or captions)
- Don’t copy real people or celebs without permission
- Don’t automate sensitive topics or fake emotional content
- Respect privacy if using comments or DMs in real-time
The goal is to build something dope and trustworthy.
Creating a comfyui realistic ai influencer model isn’t just a side project — it’s a legit content business. Once you’ve built your template, you can automate, scale, and even monetize without ever picking up a camera.
The best part? You’re early. Most people haven’t caught on yet.

